Full flake with clear topcoat
A pigmented base, wall-to-wall chips and a clear, textured polyaspartic topcoat. Hides dust and tire marks and holds up beautifully. The choice for most valley garages.
Whether your garage is a year old or thirty, the slab needs the same thing before it is coated: real preparation. We handle that part properly, then install a floor that holds up to winter slush, summer tires and everything in between.
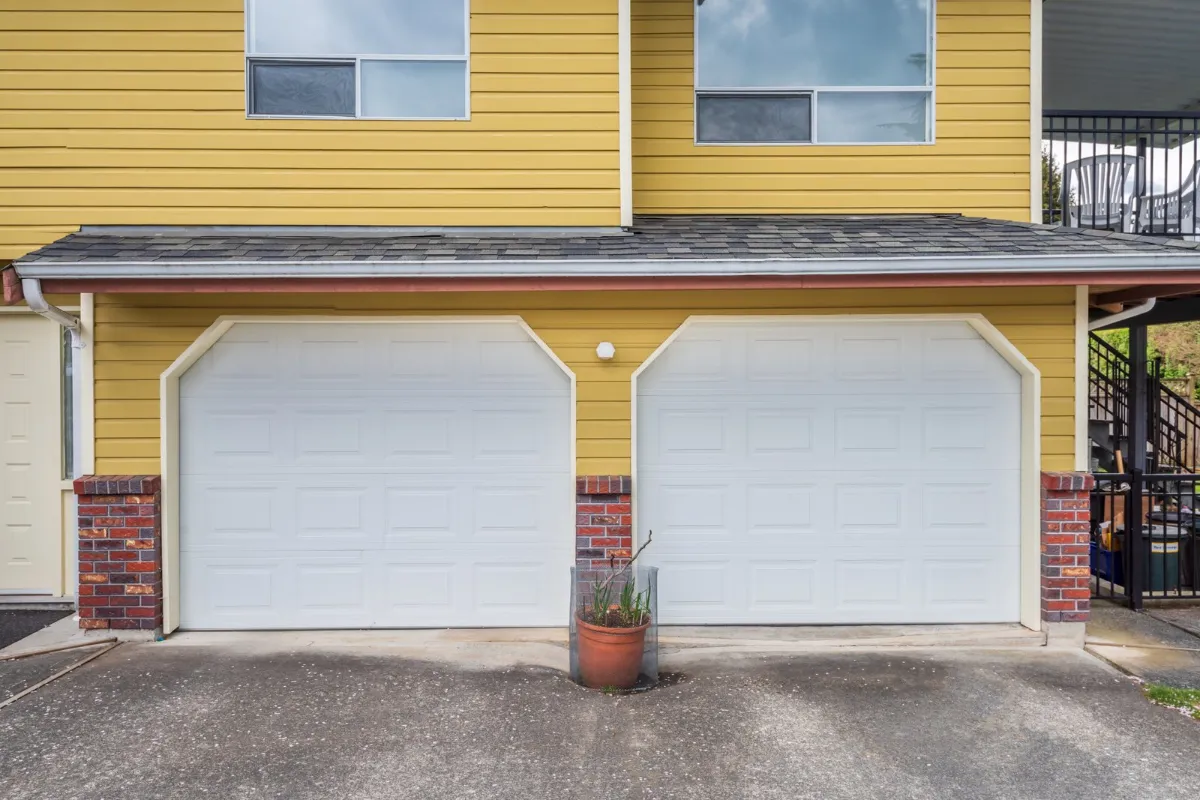
A lot of Prescott Valley homeowners call us after a disappointing first attempt. Maybe the garage was coated with a kit the summer they moved in and it started peeling where the tires sit. Maybe a quick-service company rolled on a thin layer that now has a white haze near the door. Or maybe the slab has never been touched and is starting to flake and stain after a few winters.
All of those situations have the same fix: start with the concrete. Once the slab is clean, open and sound, almost any quality coating system will perform well. Skip that step, and even the best products fail. This page explains how we handle garage floors in the valley, what your options are and what to expect from start to finish.
Many newer homes in Prescott Valley were built with a curing compound or clear sealer applied to the garage slab. It helps the concrete cure evenly and makes the floor look tidy at closing. It also prevents a coating from bonding.
Coatings need to soak into open, porous concrete. A sealed surface is closer to glass. Product poured on top grips only the sealer, and when hot tires or freeze-thaw put stress on the bond, the coating and sealer peel up together. That is the single most common failure we see on newer homes.
The fix is mechanical. Diamond grinding removes the sealer and the soft top layer of the slab completely, leaving a profile the base coat can penetrate. Acid etching does not reliably cut through sealers, which is why we do not rely on it.
Garages a few years older often show a different problem: surface flaking near the door and under where vehicles park. Each winter, snow and slush drip off cars, carrying deicer onto the slab. The water soaks in, freezes overnight and expands, popping off thin layers of concrete. Over several seasons, the surface becomes rough and pitted.
We grind those areas down to sound material, then fill pits and spalls with a repair compound and grind them flush. Cracks are routed and filled. The result is a smooth, solid base that will not undermine the coating later.
Once the floor is sealed, that winter cycle stops. Water and salt stay on the surface, where you can squeegee them out the door.
After prep, the system is chosen around how you use the garage and how it looks from the driveway.
A pigmented base, wall-to-wall chips and a clear, textured polyaspartic topcoat. Hides dust and tire marks and holds up beautifully. The choice for most valley garages.
A solid base color with a lighter chip scatter for a cleaner, more modern look. Popular in garages that double as gyms or hobby spaces.
Simple and bright, with aggregate in the topcoat for grip. A good fit for workshops and storage-heavy garages.
For shops, RV bays and garages with lots of cracking or heavy equipment. More on polyurea coatings.
Color affects how bright the garage feels and how well the floor hides everyday dirt. Here is how the main families compare.
| Color family | Look | Hides well | Shows more |
|---|---|---|---|
| Light grey and white blends | Bright, clean, modern | Light dust | Tire marks, dark grit |
| Tan and stone blends | Warm, natural | Dust, dried mud | Very dark spills |
| Sage and earth blends | Soft, matches the valley | Most everyday dirt | Little |
| Charcoal blends | Bold, high contrast | Tire marks, oil | Pale dust and salt residue |
For most homes here, a mid-tone stone or earth blend is the safest bet. It suits stucco exteriors and hides both spring dust and winter residue. We bring physical samples to every estimate so you can see them against your walls and cabinets.
Here is the order of work. Plan on roughly a day or two of crew time for a typical valley garage, a little longer if there is a lot of flaking to repair.
You clear the floor. Wall storage can stay; we cover and protect it.
Vacuum-equipped diamond grinders remove sealers, coatings and weak concrete.
Cracks, pits and flaked areas are filled and ground smooth.
The tinted base is rolled out a section at a time and chips are thrown on while it is still wet.
Loose chips are removed, then a clear, textured topcoat seals everything in.
We review cure times, care tips and when to park.
Four real seasons. Hot summer afternoons, monsoon storms, windy springs and freezing winter nights all stress a garage floor differently. Our systems are chosen to handle all of them.
Sun at elevation. At around 5,000 feet, UV is strong. Standard epoxy yellows where sunlight hits through an open door, so we finish with UV-stable topcoats.
Install temperature. Coatings need the slab within a certain temperature range. In summer we start early; on cold mornings in late fall and winter, we may wait for the slab to warm or use temporary heat.
HOA communities. Many neighborhoods have rules about work hours, parking and noise. We work within them and keep the driveway and street tidy.
Kits are designed to be easy, which means they skip the hard parts: grinding, sealer removal, crack repair and thick, multi-layer builds. On a sealed new-build slab or a winter-damaged older one, that is a recipe for peeling. A professional system costs more because it includes the work that makes it last. If you have a failing kit coating now, we grind it off and start over.
Spring wind blows a surprising amount of grit under the door, so a quick sweep or leaf-blower pass every week or two keeps it from grinding into the finish. When snow rides in on the car, a rubber floor squeegee sends the meltwater back outside. Clean up drips of oil or fertilizer as you see them, and use a mild, neutral cleaner for the occasional deep wash.
Put a mat or plywood square under kickstands and jack stands. If the topcoat dulls in a traffic lane after years of use, it can be lightly sanded and recoated without redoing the whole floor.
Size is the starting point. After that, slab condition has the biggest effect: sealer removal, old coatings, flaking and cracks all add prep time. The system matters too, with polyurea bases and specialty finishes costing more than a standard flake build. Smaller add-ons include coating stem walls and extra texture. Your written estimate lists each item so you can see exactly what you are paying for and choose where to spend.
Many new homeowners plan to add garage cabinets, slatwall or overhead storage. If you can, coat first. It is easier and cheaper to coat an empty floor, and cabinets look better sitting on a finished surface. If cabinets are already installed, wall-hung units are no problem. Floor-standing cabinets can usually be moved, or we can coat neatly up to them. We will talk through the best approach during the estimate.
Straight answers. If yours is missing, call (928) 555-0139.
New concrete needs time to cure and release moisture. Many slabs are ready within a few months, but it varies. We test moisture during the estimate and tell you if the slab is ready.
Yes. Diamond grinding removes curing compounds and sealers completely, which is essential for a lasting bond.
With a fast-curing topcoat, typically within one to two days, depending on temperature. We give you exact timing in writing.
We add slip-resistant aggregate to the topcoat as standard, and flake floors have natural texture. Squeegeeing meltwater out also helps.
If it is peeling or painted, it comes off. If it is well bonded and simply worn, we may be able to sand and recoat it. We test during the estimate.
We can. Many homeowners like the finished look, and it protects the walls from splashes and road grime.
Yes. We follow community guidelines on work hours, parking and equipment, and keep the driveway clean.
We will check the slab for sealers, moisture and damage, bring flake samples and leave you with a clear, written price.